Behind The Scenes #2
Hi-Res Texturing & Fun With Physics
Hello Tech-Pilots,
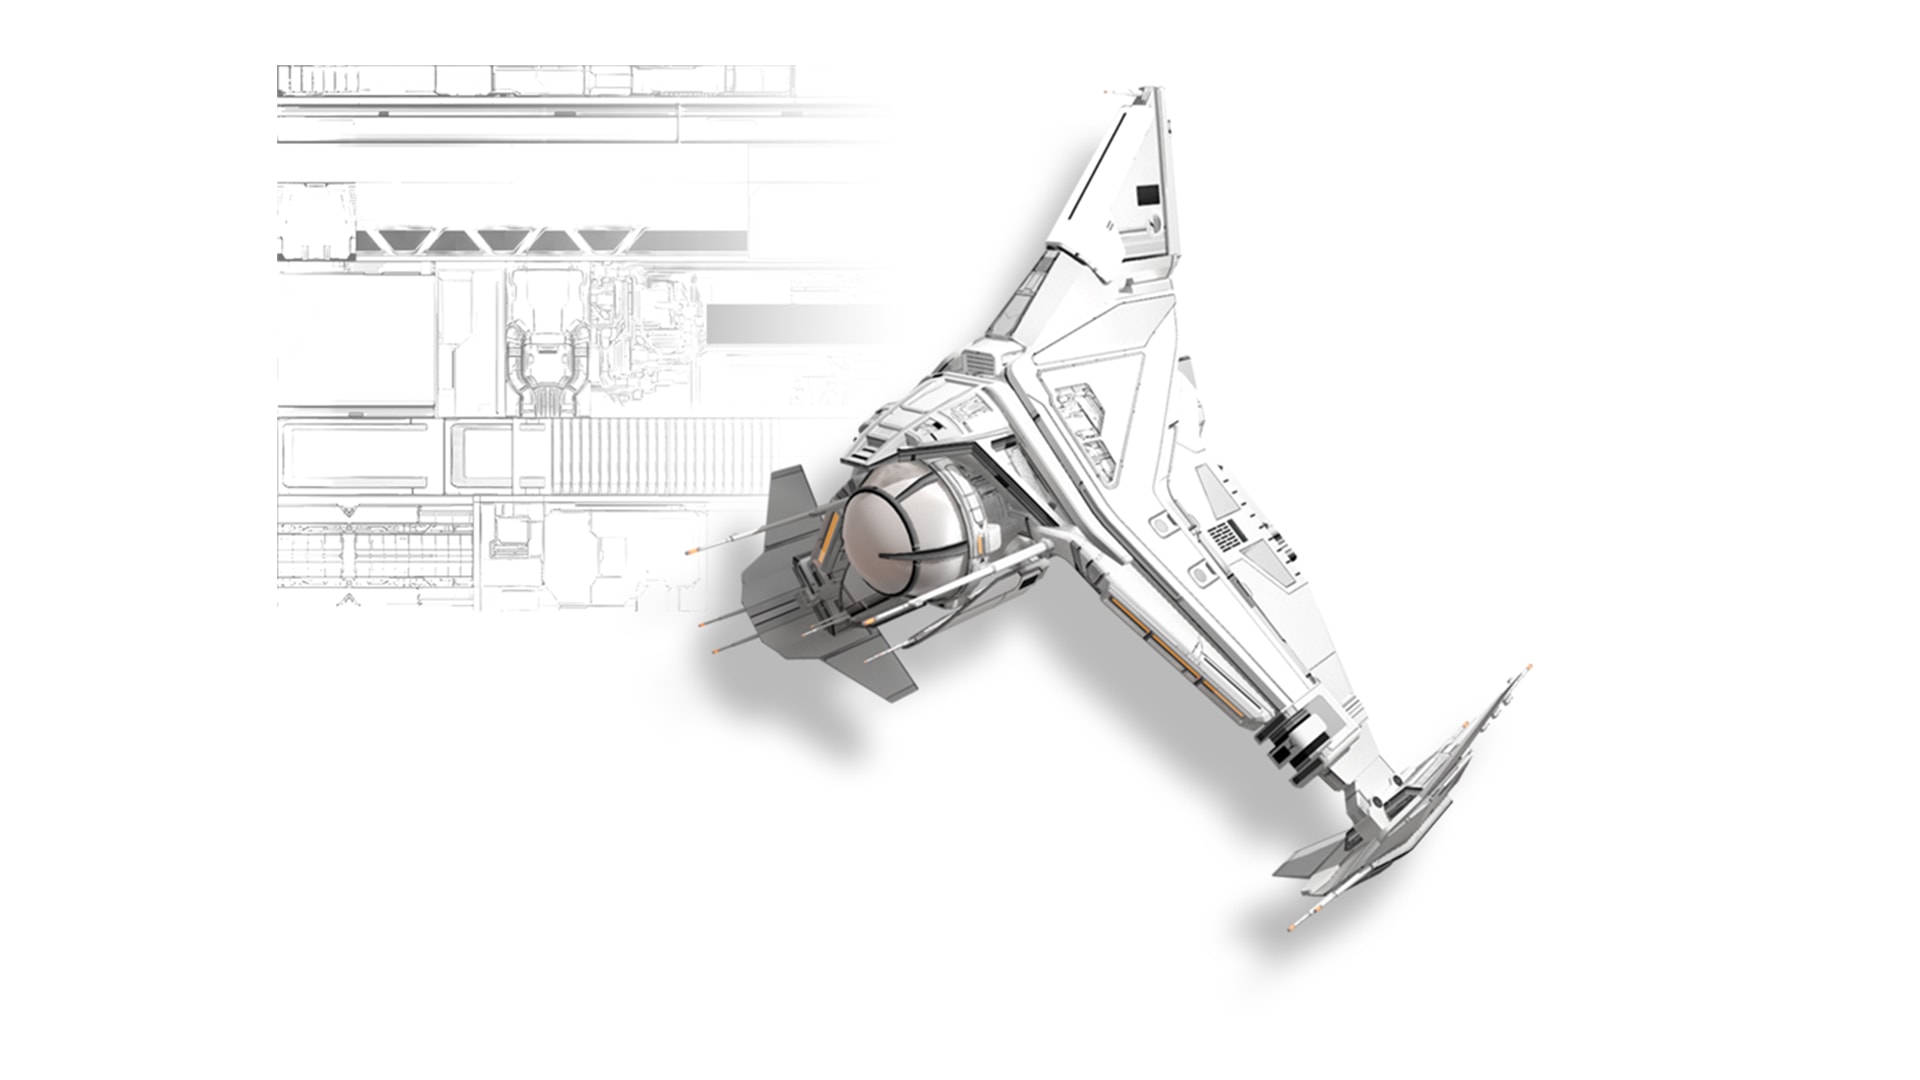
Today, we have another Behind The Scenes update for you. Alex, one of our senior 3D artists, will explain our improved texturing workflow, allowing us to add way more details to player ships, NPCs, space stations and other structures.
Hi-Res Texturing
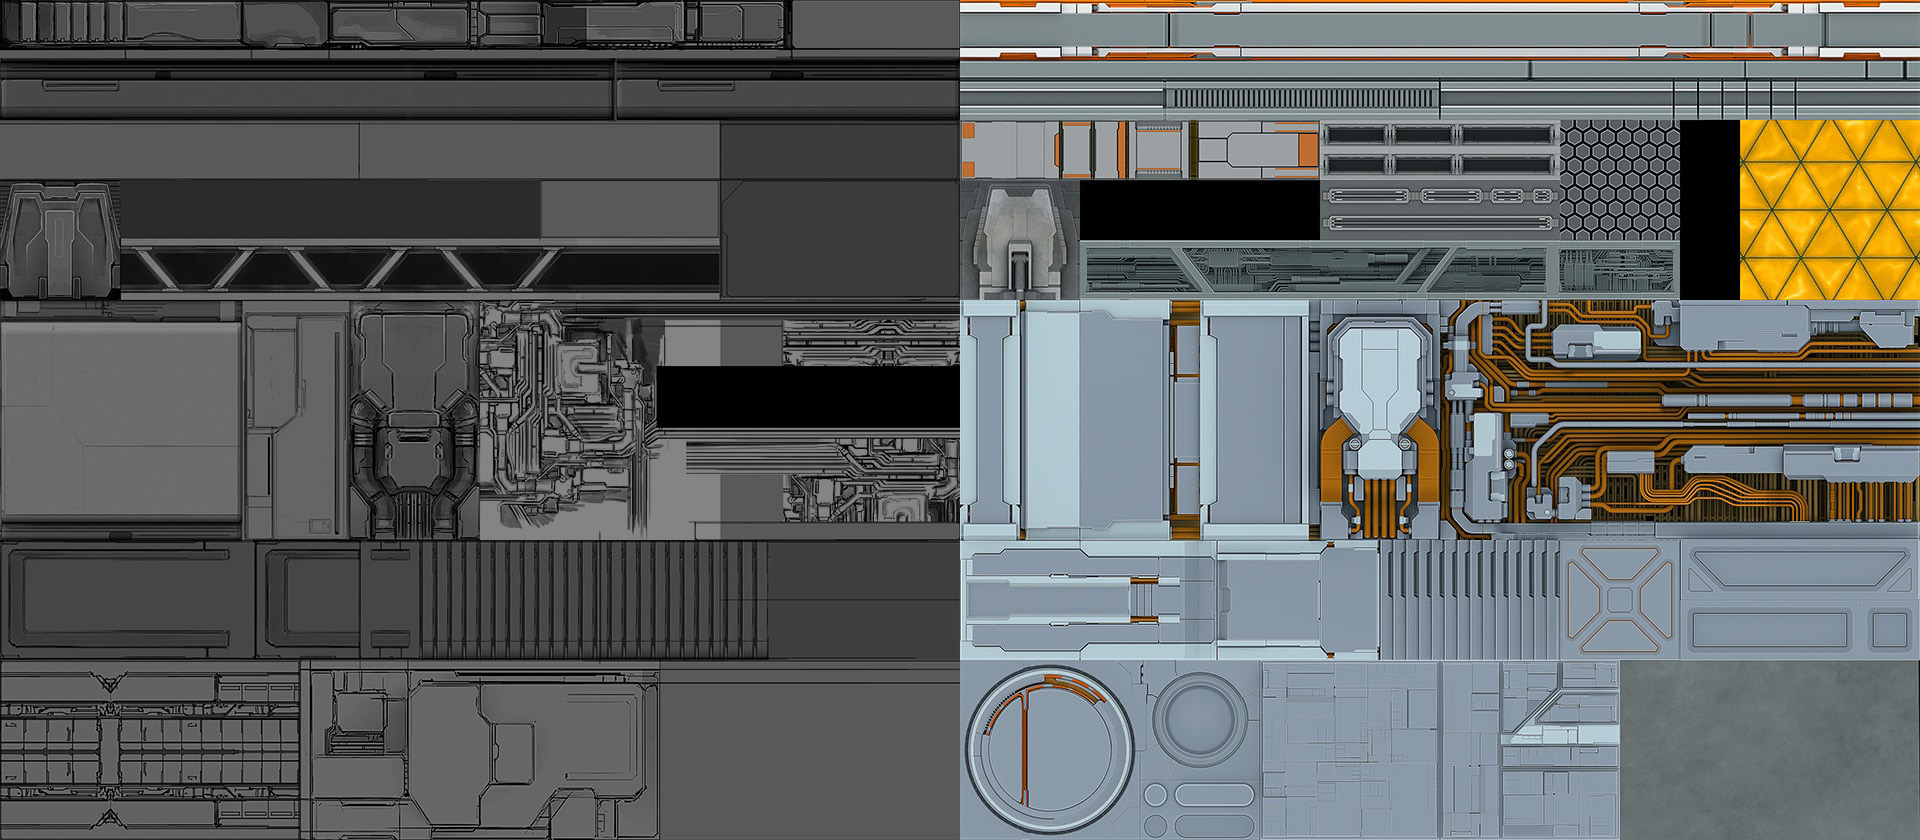
A few basics before we get into details: What are textures and what is the purpose of using them? A texture simulates surface characteristics such as roughness, metalness, micro-detail (normal), and albedo (color). With the help of these, we can add details to surfaces that would otherwise be impossible to achieve (even with current-generation high-end graphic cards). Consider for a moment that every screw and every tiny scratch you see on a surface would need to be modeled, so you would end up with billions of triangles even for a very simple object.
Where To Start
The first step is taking a very close look at the concepts we get from our designers and finding out which details can be converted into smaller texture patterns. These are usually based on a 128-pixel grid so that we can later easily re-arrange them on our atlas texture.
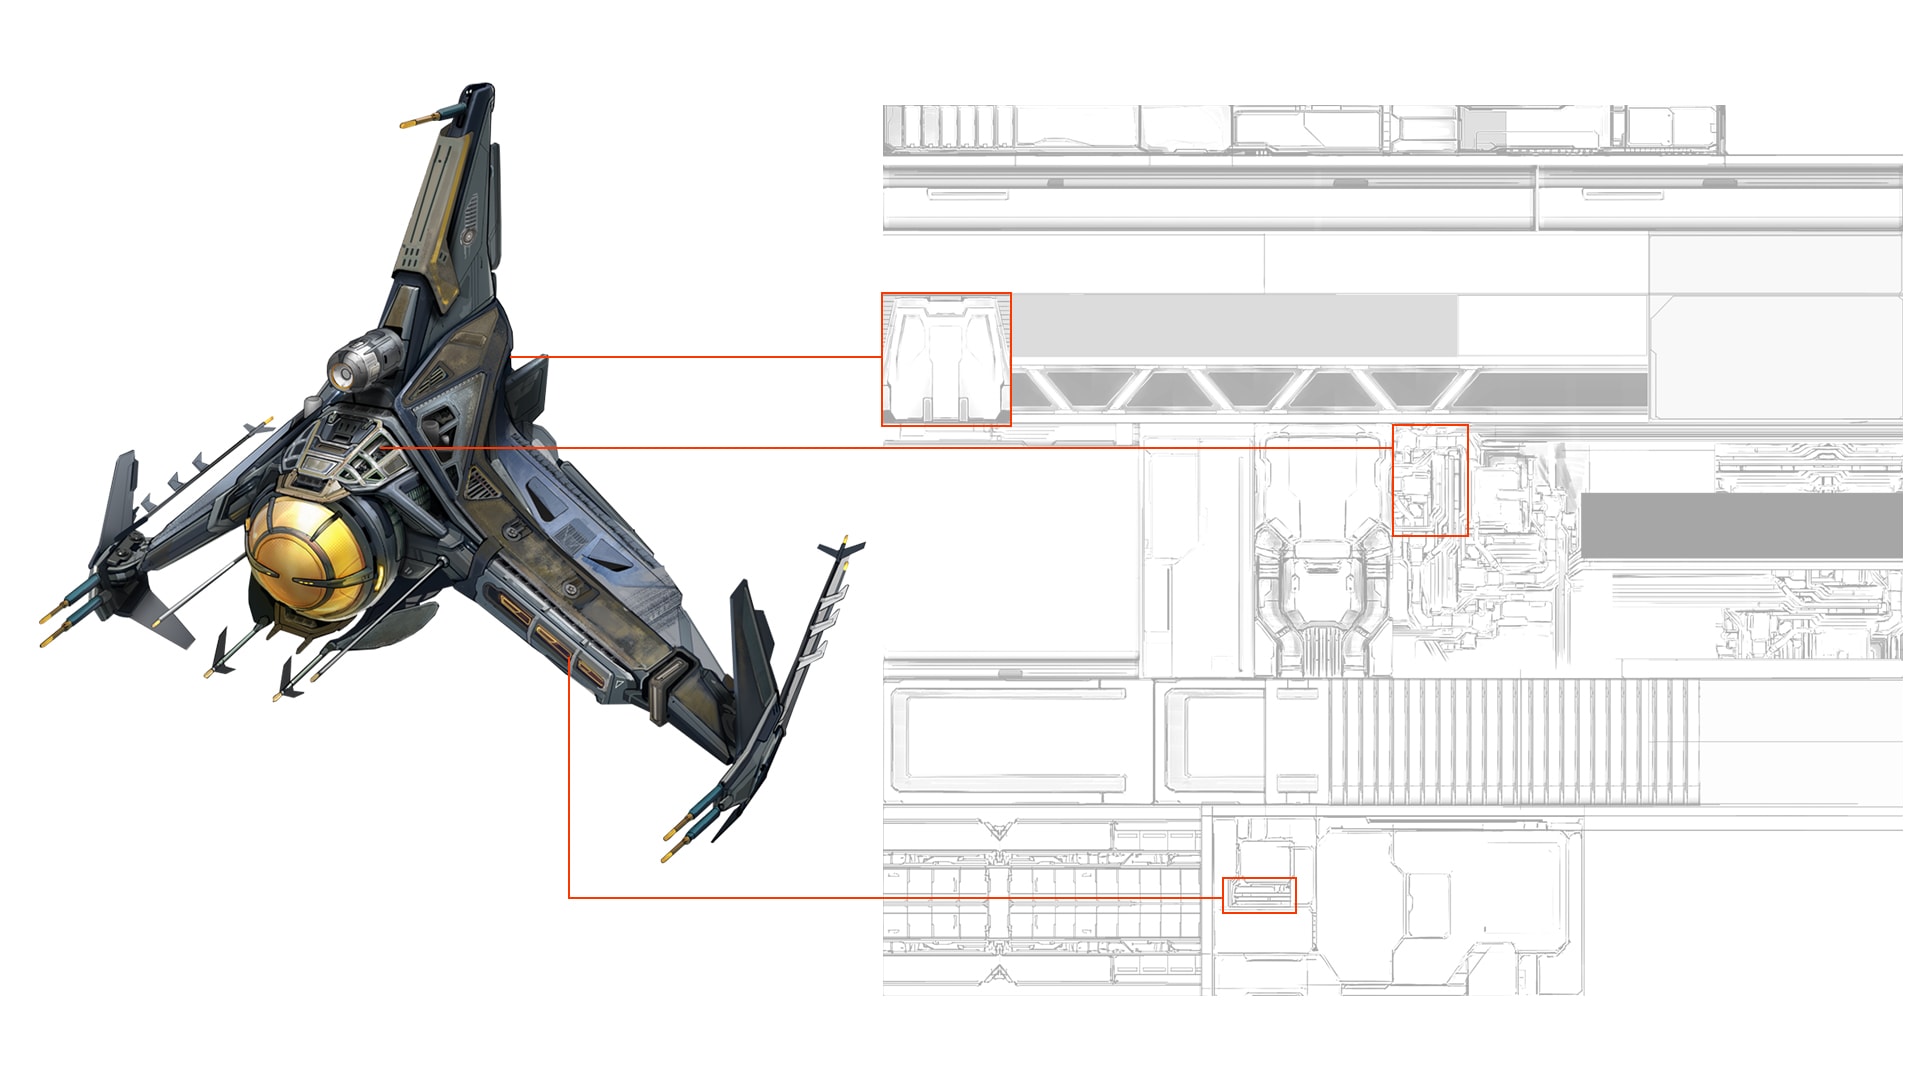
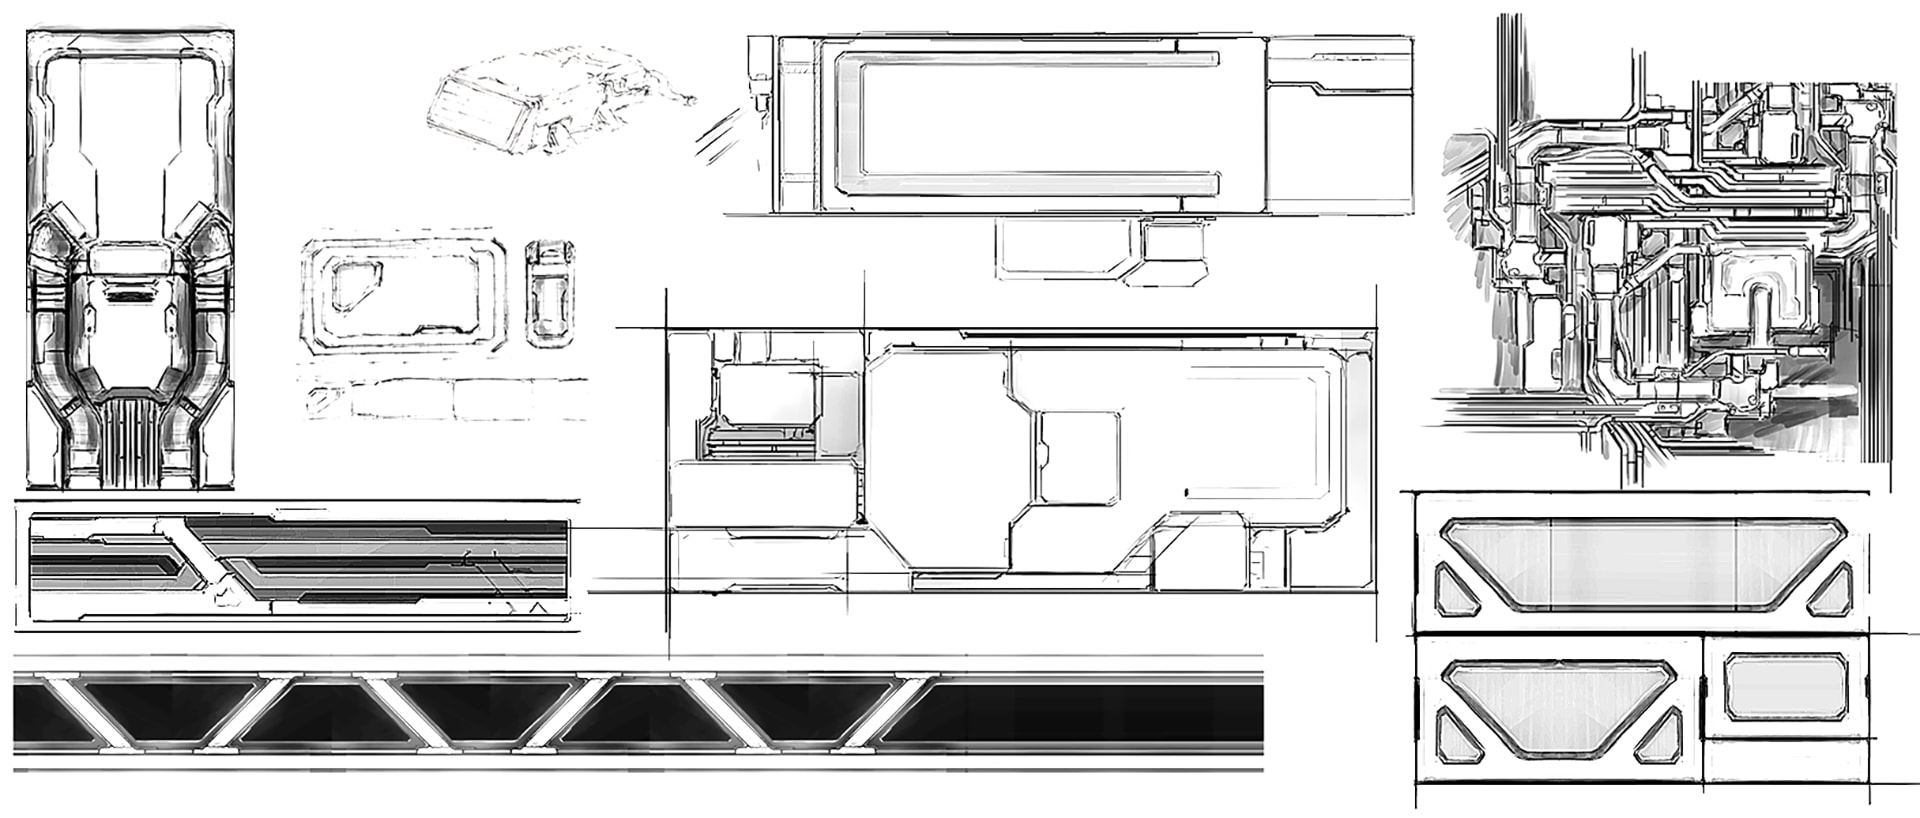
When creating the layout, it is very important to keep in mind that other artists who will later work with the texture should have no problems navigating it and easily find the patterns they are looking for.
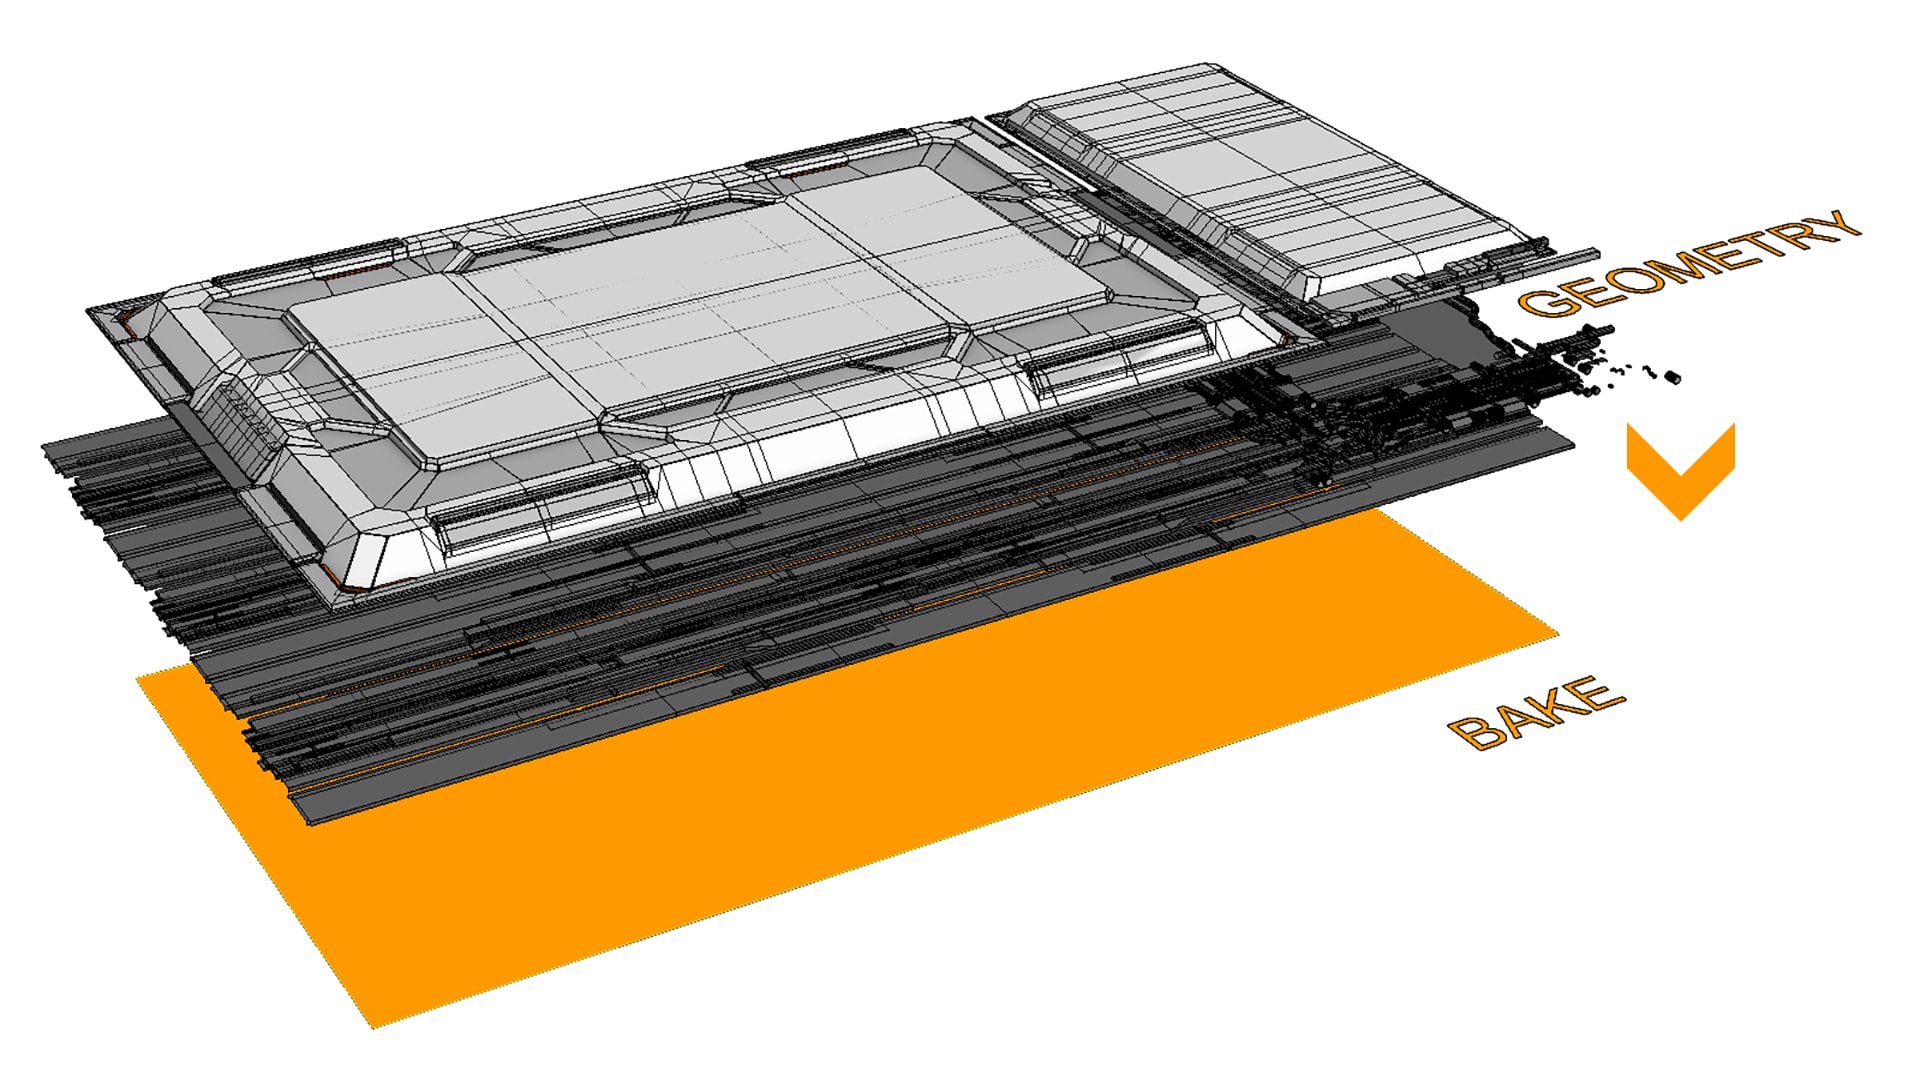
Mapping
I do some mapping tests on ship block-outs with the layout to find out if the atlas needs any improvements or re-arrangements. However, at this point, it is only a simple black and white texture without any additional surface information.
Crafting
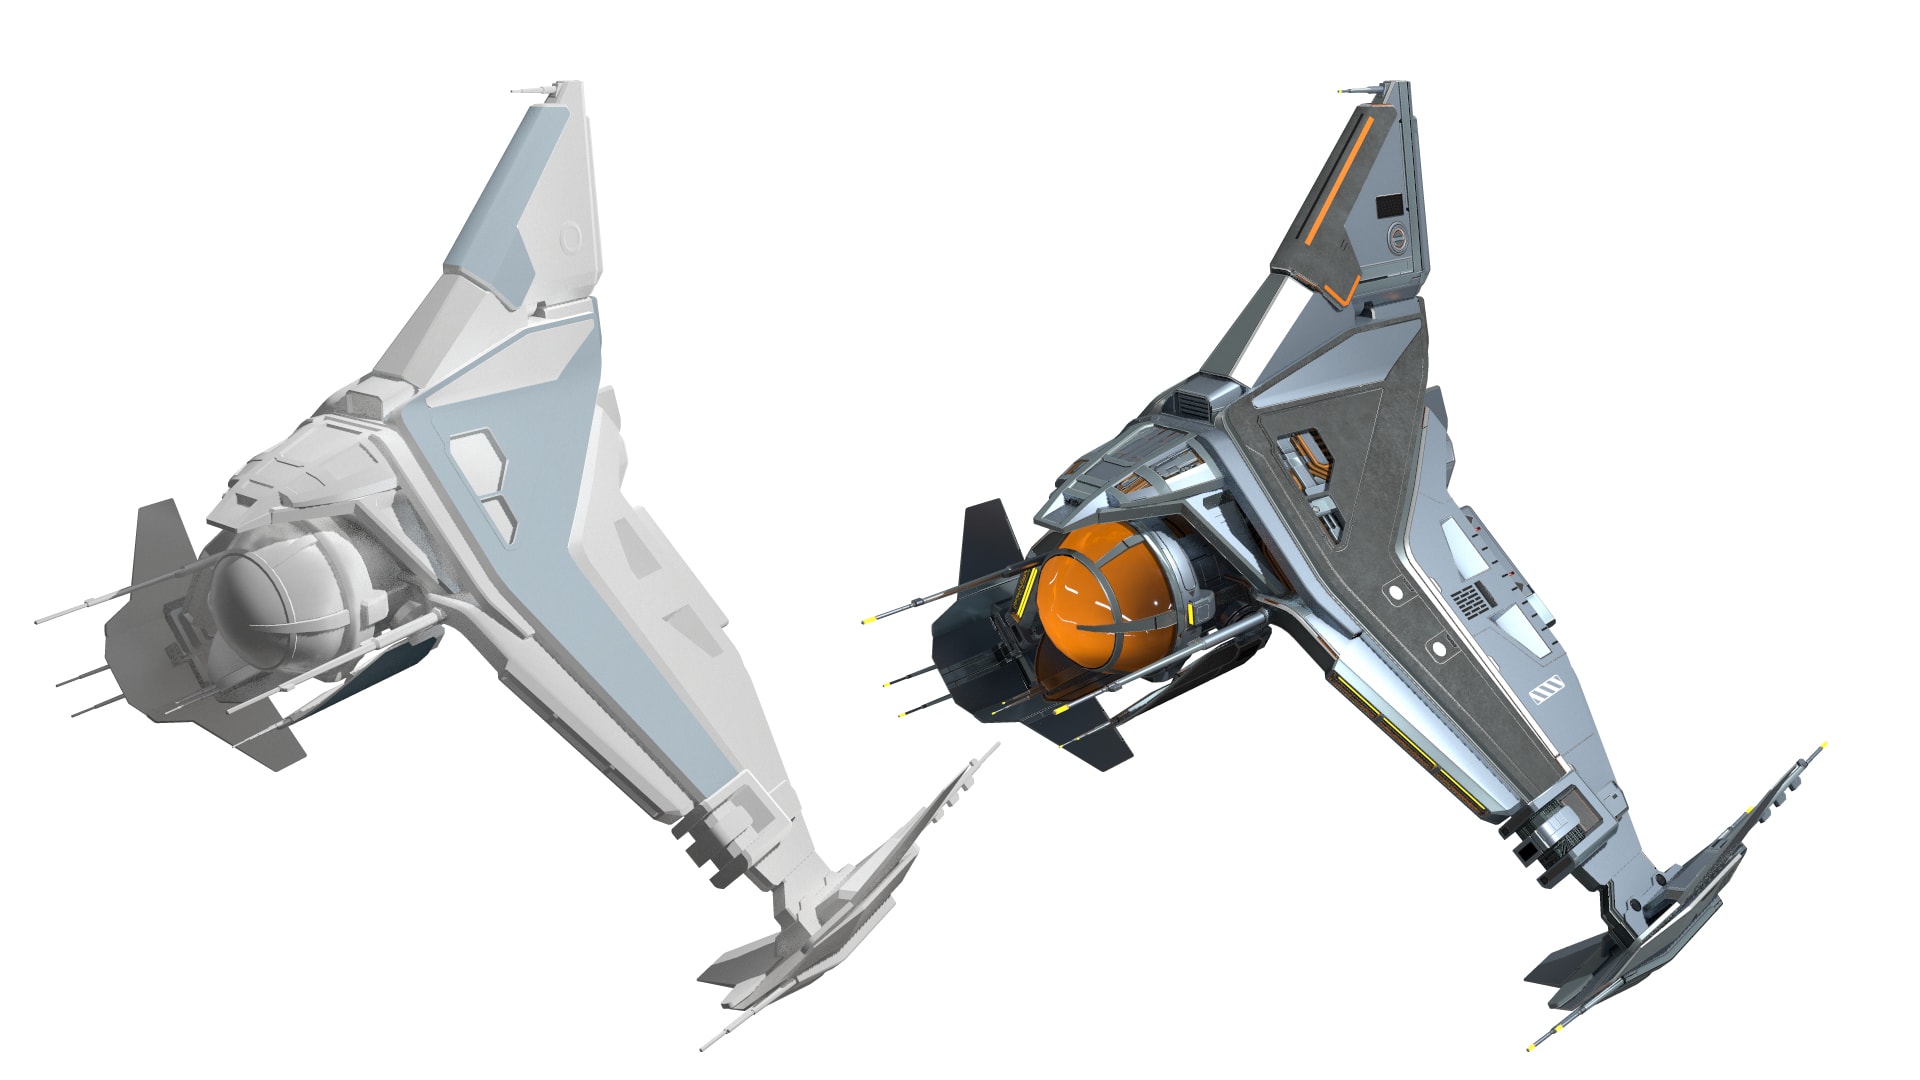
The next step is to create the pre-baked geometrical information (normal map) and based on this most of the other surface characteristics. There are a lot of different ways to achieve the desired look… either by just painting the information or by creating it with tools like Substance (procedural), Quixel (photo-based), or ZBrush (sculpted).
I chose the way of using 3DS Max or ZBrush for modeling, Marmoset for baking and adjusting surface parameters like metalness, roughness, transparency, emissive and Photoshop or Substance for the final touches like adding grunge or scratches on some areas. I think the benefits of modeling all the details into the texture instead of just painting them is that you have way more control of fine-tuning specific regions and that you achieve a higher quality in the end.
Conclusion
Even though there are many other ways to create cool-looking textures, this approach has worked out very well for me in the past. It takes some extra work, but I think it really pays off in the end. 🙂
Alex
Fun With Physics
Meanwhile, Marco and Malte are working hard on gameplay physics and level design…